Happy Halloween, my friends! The spirits are soaring and the candy will be flowing, so let’s look at the final issue of the mini-series known as…

So far, Vlad Tepes avoided the Turkish Army and was aided by Lucifer to rebuild his empire in medieval times. The catch: he would die and be reborn as a vampire. From there, he easily swayed Morgana and Mordred to his side and turned them into vampires. Meanwhile, King Arthur initially embarks on a quest for the Holy Grail while leaving Lancelot to guard the kingdom. However, his absence is uneasy for Guinevere and is ultimately kidnapped by Mordred. Lancelot takes off to rescue her, but Dracula manipulates the queen, turns her into a vampire and then uses her to swoon Lancelot into joining Dracula’s side. Once Arthur finds out about his missing wife, villages throughout the land are burning as a Black Knight has risen alongside his demonic army. The noble king tries to take him on, but is overwhelmed and captured. Meanwhile, Merlin and Lamorak bring a young lady named Amide, who was attacked by a vampire family, into the wizard’s lab in order to learn how to engage their enemy. Meanwhile, Arthur is brought to his lowest point when he finds out about the fate of his queen and a few of his knights. Not only that, but Lancelot was the Black Knight as he’s carried away. With the cards stacked against him, let’s see how this tale concludes in a 64-page finale called: Chapter 4: Evil Meets Medieval.

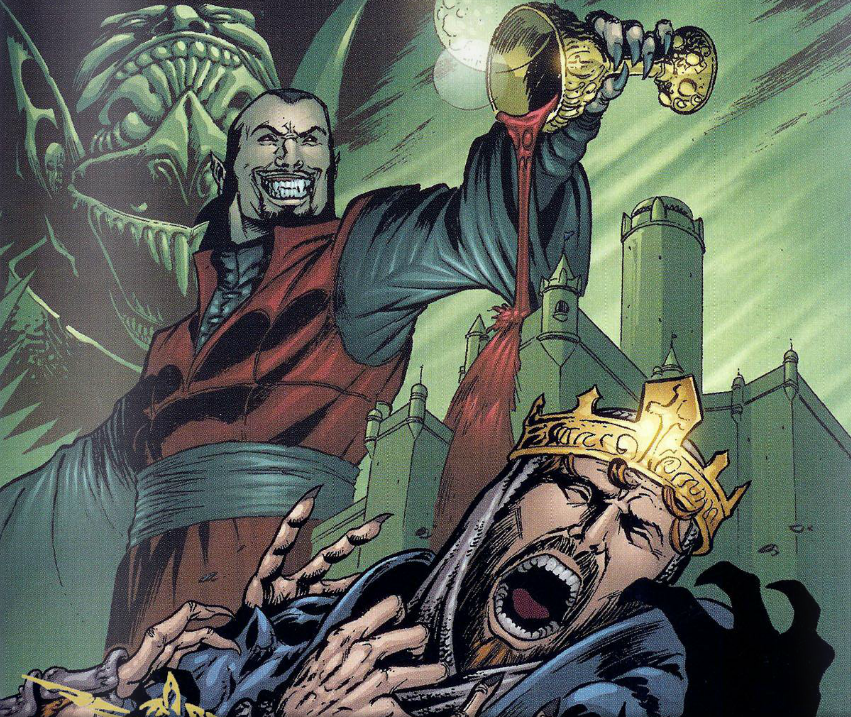
Issue 4 begins with King Arthur at his lowest moment: pinned to the dungeon wall while Dracula, Mordred, Guinevere, Morgana and Lancelot feast upon his blood. Morgana wishes for the noble king to become a vampire, but Dracula refuses since he wants Arthur to suffer for a long time before he takes his leave.

Shortly afterwards, he’s confronted by Lucifer. After Dracula tells him that he’s essentially the victor in this fight, Lucifer tells him that he made Vlad who his is in order to prove “a lesson for God” and that he’ll figure out what he’s going to do following Arthur’s destruction. From there, the scene ends with Lucifer telling him to prepare for battle set to take place “at noon on the sixth day”.


Over in Camelot, Merlin has Amide strapped down while he learns how to properly attack a vampire. As she continues to turn into a fanged creature of darkness, he learns about their weakness to garlic. During his research, he briefly talks about his backstory where his mother was impregnated by a demon and he was supposed to grow up and become “a servant of evil”. Thanks to having his demonic father’s heritage, he’s also knowledgeable about “the dark arts”. Because of the unholy make-up that’s making her human body become unable to “stand the light from heaven”, he takes out a holy cross and concludes the scene by placing it on her off-screen as its good-natured make-up singes her un-pure skin.


Back at Tintagel Castle, Arthur has become a limping play-toy for the giant bat named Desmodus. Looking overhead is the vampiric Guinevere and Lancelot who discuss about wanting to turn the noble king into a vampire. However, Dracula comes in and says that he’s still not going to do so. Instead, he orders Desmodus to pick Arthur up and throw him into the sea so that he can drown.


While Desmodus proceeds to plunge Arthur into the water, we cut back to Mordred as he complains to his mother that he wanted to be the one who killed his father. Not only that, but he hates that they have to serve Dracula all the time. The scene ends with Morgana telling her son that he’ll get another chance to kill the noble king, since he must journey through the “broken land”.


Meanwhile, a still-living Arthur gets washed up on shore. After gaining the strength to stand, he makes his way back to his kingdom and finds it in utter ruin. Due to his weary state, he slips on a skull and slams into the ground, causing him to blackout.


Sometime later, he’s been found and has his consciousness regained by drinking from a certain goblet. At that moment, Arthur not only realizes that he’s with Percival, but that he also found the Holy Grail. Percival explains that he discovered the legendary cup under the hillside of Glastonbury Tor. Afterwards, Arthur suddenly realizes the familiarity of a certain body of water.


Percival explains that he brought his king to this lake since he needed fresh water to use in the grail. Arthur gladly tells him that this body of water isn’t just any lake. It turns out that the Lady of the Lake lives within this aquatic body. After telling Percival to stay behind, he climbs into a nearby boat and proceeds to head out into the calm waters.


After Arthur rows out to the middle of the enclosed area, the Lady of the Lake rises up to the surface wielding two swords. Since she foresaw him losing Excalibur, she prepared a pair of specific blades that should help him fight Dracula. First, a wooden sword called Kingswood. Forged from the Tree of Avalon, she instructs him to plunge this blade into the vicious vampire’s heart. The other sword is made out of pure silver which will help “slice”, “burn” and “purge” his foe. The Lady of the Lake proceeds to tell him that even though his upcoming battle will make him legendary, it will come at “a costly price”. Unlike herself and Merlin, they’re not so easily killed as she forewarns him on how “the things of man have their time”. After Arthur swears that he won’t let Camelot fall, the Lady of the Lake heads back down into the water after stating that she will see him soon.


Back in Camelot, Merlin has gathered the remaining knights in order to inform them about what they’re up against: Vampires. After mentioning how Lamorak protected himself from an opposing group by getting inside of a church, he orders for the vampiric Amide to be brought out. Despite her losing her left leg and her right arm, Merlin explains that her vampire traits are helping her slowly re-grow new limbs. After Ector says that they already know that decapitation will take care of a vampire, Merlin proceeds to show off the power of the holy cross by placing it on Amide’s face, causing her to get singed. He then explains that if it was left on her, it would have eventually killed her.


Just then, the knights get the biggest of uplifting surprises as King Arthur makes his triumphant return. Not only that, but Percival has also brought them the Holy Grail. Upon arrival however, he’s horrified to see his sister strapped down against her will by Merlin.


Despite the wizard warning him that his sister is long gone, Percival still thinks that the Holy Grail’s water can save her. He proceeds to feed her its angelic liquid, but his efforts end up fruitless as the divine drink does her in by causing her to violently explode.


Afterwards, Percival blames himself for letting her head into the cabin where the vampire family was waiting. After becoming even more distraught on the fact that the Holy Grail’s waters couldn’t cure his sister of her vampirism, he runs away as Arthur is told to “let him go”.


Later, Dracula and Lancelot begin to prep their battle strategy. They discover a prime battlefield at Camlann where they plan to engage King Arthur and his knights. Once dawn arrives, Dracula will have his army hide in the thick trees for shade. While the dead are being carried away, they’ll re-engage at noon while Morgana attacks Camelot. Lancelot questions the plan since the sun will still be shining, but Dracula reassures him that the light “will turn to darkness”. Meanwhile, King Arthur and his men look over Camlann for the upcoming battle. There is a similarity with Dracula’s plan: Fight until dawn where the army of darkness will hide underneath the thick trees. Fortunately, Arthur anticipates a secondary force will be coming to attack Camelot. As such, he plans on having Merlin stay behind to guard the castle.

We then have a quick scene where Merlin discovers a trail of blood going up the stairs. He follows it until he discovers Percival’s corpse, implying that he took his own life after feeling completely distraught about not being able to save Amide.


Later, the knights prep themselves for the fight ahead by wearing holy armor and arming themselves with stakes & holy water in addition to their swords. From there, King Arthur comes in and gives a rousing speech to Bedivere, Lamorak and the knights. After informing them that they’ll be fighting in Camlann, he fires up his remaining Knights of the Round Table with the promise of winning for Britannia and Camelot.


As the knights prepare to head out towards battle, Merlin tells Arthur about Percival’s death. After letting his king know that he’s going to stay at Camelot to serve as the last line of defense, he mentions how this kingdom is unlike any that he’ll ever be a part of. As such, they bid each other a proper farewell.


With the sun slowly setting over the land, Arthur and his knights proceed to ride out towards Camlann. As the sun starts to disappear on the horizon, they catch site of the Black Knight leading his demonic forces. As such, the final battle begins.


As such, Arthur’s side kicks things off with the archers launching their flame arrows in order to strike down the initial wave.


Afterwards, the giant bat Desmodus swoops in to engage our heroes. Despite getting pelted by a barrage of fire arrows, the massive beast hardly shows any signs of slowing down. Fortunately, King Arthur takes care of the gigantic creature with his two swords.


Against his king’s wishes, Gawain proceeds to engage Lancelot in order to avenge the deaths of his brothers. After a brief sword fight, the valiant warrior manages to best the Black Knight. However, he then comes across his biggest enemies, his brothers Bors and Galahad as vampires.


Just as Gawain starts to engage them, dawn has arrived as the sun starts to rise. While several of Dracula’s soldiers are forced to retreat into the shade, Lancelot, Bors & Galahad have specific armor that protects them from the bright light. Fortunately, Gawain gets some much-needed help as Lamorak and Bedivere arrive to give him assistance.


Meanwhile, Dracula and Guinevere watch from beneath the shady trees as they comment about Lancelot fighting for her. After swaying her on the fact that Arthur had never fought for her before, he convinces the former queen of Camelot to go slay the noble king.


Back on the battlefield, Bedivere manages to shove Bors over and kick his helmet off, causing him to incinerate in the sunlight. However, Gawain gets knocked down by Lancelot as he prepares to deliver the finishing strike. Just then, they notice that the sun is getting eclipsed.


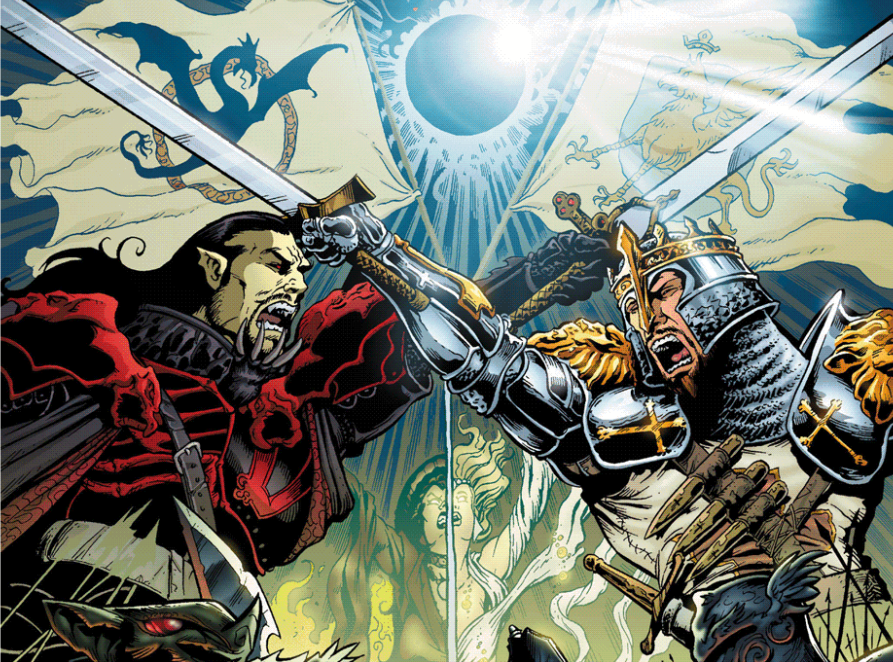
With the sun entirely blacked out, Dracula proceeds to lead Mordred, Guinevere and his army of darkness out onto the battlegrounds. From there, Arthur goes to engage with his two swords while the Prince of Darkness clashes with Excalibur at hand.


As such, Gawain resumes his fight with Lancelot. Unfortunately, death has come to claim him as Guinevere arrives and impales him. Despite her successful kill however, the Black Knight berates her since he wanted to deliver the finishing blow himself. Meanwhile, Lamorak’s brawl with Galahad reaches its apex as he delivers a powerful bull rush.


Just then, Lancelot sees an incoming knight lunging towards him. He manages to decapitate the approaching figure just before he gets slammed to the ground, but it turns out that it was the recently-hit Galahad who just got his head sliced off. With Lamorak bearing down on her, Guinevere suddenly bumps into King Arthur. From there, he sends his wife to eternal rest by slicing her head off.

From there, the scene ends with Lamorak forced to fight Lancelot, Ector dueling with Mordred and King Arthur resuming his fight with Dracula.

Meanwhile, Morgana has led a secondary force in an attack on Camelot. After she comes across Merlin, the two spellcasters proceed to engage each other in a wizard’s duel.


Ultimately, the two magically-created creatures tussle before they end up exploding. Morgana gets caught in the blast since she ends up looking incredibly old and decrepit. Merlin easily deflects one final attack before she put the sinister sorceress out of her misery and takes his leave.


Back at Camlann, Lamorak continues with his ferocity while Ector ends up on the wrong end of Mordred’s blade. Meanwhile, the main duel reaches its apex as Arthur manages to best Dracula and knock him to the ground.


Just as the noble king has the Prince of Darkness at his mercy, the worst possible moment manages to happen as Mordred impales his father and proclaims that he has finally killed him. Fortunately, Arthur still has the strength to use his Kingswood sword and impale his devious son into oblivion.


Dracula tries to retaliate, but Arthur mortally wounds him by impaling him with his wooden sword before breaking it off at the hilt. Then, he uses his silver sword to slice the Prince of Darkness’ left hand off. After reclaiming Excalibur, King Arthur delivers the final blow by slicing Dracula’s head off. However, Mordred’s wound has taken its toll as he falls onto the battleground.


Meanwhile, it turns out that Bedivere was the lone survivor from the carnage as he discovers Lamorak’s corpse in a bloodied mess. Just then, he notices Arthur lying mortally wounded. After he learns about Dracula’s death, he’s then instructed to take Excalibur to “a lake that it not on any map” and give it back to the Lady of the Lake. Bedivere wants to keep it since could help Camelot, but Arthur tells him that his kingdom “is no more” and tells his knight to do as he’s told. With his greatest triumph at hand, King Arthur succumbs to his injury and dies.

As Merlin arrives and looks over the battlegrounds, he oversees Bedivere taking Arthur to his final resting place. The fabled wizard then discovers that there was actually more than one survivor as Lancelot lies wounded. After discovering that he’s still a vampire despite Dracula’s death, Merlin magically carries him away in order to find a cure.

And so, the series ends with Arthur’s body placed on a boat as it sails out to Avalon. The narration closes out by stating that the king and his kingdom will have a undying legend, but their victory over Dracula has remained “hidden” outside of those who know of the actual truth. The caption promises that someday, “the truth will be known”.

Now that we have the whole picture, it’s time to do some proper character analysis. Of course, King Arthur has the most extensive arc due to him serving as our main character. Early on, he makes a choice to sacrifice some time with his doomed queen in favor of a quest that will help out the greater good. Little does he know that his greatest foe (for this tale, at least) isn’t Morgana/Morgan le Fey or Mordred, especially after Desmodus strips him of Excalibur for the majority of the story. His world starts crashing down in the third issue when Dracula’s power emerges through his forces burning down nearby villages and loses. Not long afterwards, he finds out that a few of his enemies and several of his loved ones have ended up on Dracula’s side. As a king, this effectively serves as Arthur’s biggest low-point since his people have ended up slaughtered while people he once called allies have been lured over to side with the Prince of Darkness. Only when he comes across Percival, the Holy Grail and the Lady of the Lake do things start to change for the better. Though the foreshadowing from her and Merlin are obvious (especially if any reader is already somewhat familiar with Arthurian lore), he doesn’t let Percival’s self-inflicted death distract him from fighting the foe that threatened his kingdom. In the end, he wins over Dracula and gets rewarded with a higher seating in the afterlife. With the Prince of Darkness himself, he arrives in Medieval times and proceeds to build his empire by going after several key figures and turn them into loyal vampires. Afterwards, he sends them out onto the land to help spread his tyranny and wrath. In this issue, he lets his triumphant moment ultimately slip away. Sure, he doesn’t kill Arthur since that would turn the king into a martyr, keeping the hopeful chance alive. However, the king doesn’t get an opportunity to escape in order to show off his cleverness. Instead, Dracula has his giant bat drop him into the water and just hopes that he drowns. That doesn’t happen of course, since Arthur gets back to Camelot and preps himself to take down the Prince of Darkness. Basically, that one moment brought up the “stupid villains” cliche since the Beraneks couldn’t come up with another way for the noble king to flee from imprisonment. Of course, it’s quite a spectacle when we get to the final battle. Plenty of the knights, especially Lamorak, have several moments to shine throughout to show off their worth to their king. The art work also serves the story well. Simple enough, but helps the narrative flow at a reasonable pace. For a series that puts a different spin on Bram Stoker’s famous novel and the famed British legend, the two entities managed to come together in order to create a convincing and well-engaged story.

Overall, this series is an enjoyable romp. The characters are enjoyable, the story is both easy-to-follow & a thrilling ride, the art work is very competent and the blending of two different iconic figures was something to behold. Whether you read this four-part story in individual issues or in a trade paperback, this story is worth your time. Well, that’s all for Halloween 2016. Enjoy all of my various reviews over the ages and I’ll see you around the C-Cubed!