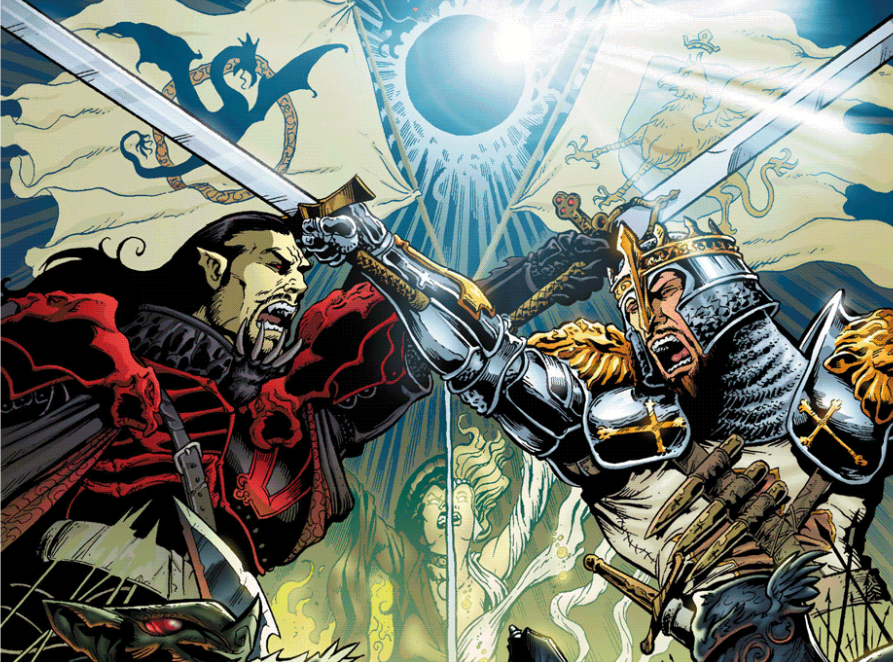
Hello, my friends. Autumn is in the air and so are the spirits of Halloween. As such, it’s time to review another horror-themed series. Last time, we looked at a five-part tale that showcased a creature from a great lake. This year, we get two legendary figures of lore in a battle to the death. It’s time that we look at the mini-series known as…

Published between June/July 2005 and August 2006, this four-issue series pits Bram Stoker’s famed vampire against the legendary figure of British lore. The idea for the story (according to draculavskingarthur.net) came from co-writer Adam Beranek while working a mundane day job back in the early 2000s. He would bring the idea to his sibling, co-writer Christian Beranek, who was knowledgeable in medieval literature. Ultimately, they would acquire Chris Moreno to draw the artwork. Joining Moreno would be Jay Fotos on colors. Let’s kick off the push towards Halloween and work towards a mighty clash.

We open on a prologue explaining our two main characters. England had been without a king since the death of Uther Pendragon and the famed wizard Merlin placed the legendary sword Excalibur within an anvil that sat atop a granite stone, where it would remain until the true king comes along to retrieve it. Fortunately, Arthur arrived and removed the mighty blade from its perch. He helped unite Britain during the Battle of Mt. Badon and would form his legendary band of warriors known as the Knights of the Round Table. He would eventually marry King Leodegrance’s daughter, Guinevere, and make her his queen of Camelot, the kingdom that stood as the shining example for hope for peace throughout England. On the other side, there was Vlad Dracul III who was in Turkish exile after his father and older brother were buried alive. After he built his own army, he managed to reclaim Wallachia’s throne only to lose it again two months later. After nine years, Vlad Tepes got his throne back as his ruthless tactics of execution and torture earned him a nickname: “The Impaler”. Despite his powerful reign, the Turkish army decided to overthrow their vicious ruler. During the siege however, his wife committed suicide by throwing herself from a tower to her death, striking an emotional blow to Lord Dracul. With his empire crumbling around him and the Turkish army closing fast, little did he know was that a new and darker life would await him. And thus, we begin Chapter 1: Legends.


We truly begin in the Romanian region of Wallachia in 1476 as a mysterious horse-and-buggy arrives in front of a castle to let a pair of demon dogs pop out, one of whom has a message in its mouth. After being informed by one of his guards, Lord Dracula makes his way towards the front gate and proceeds to read the letter. After discovering that Lucifer requests his immediate presence, he tells his guards to abandon the castle in order to avoid the Turkish army’s wrath. After stating that “this mortal life” has lost all meaning, he proceeds to climb into the carriage and takes his leave.


Having successfully avoided the Turkish Army, Dracula ultimately arrives in front of a cave where he proceeds to follow the demon dogs inside. He then confronts a demonic being named Lucifer who shows him certain visions with his otherworldly pool.


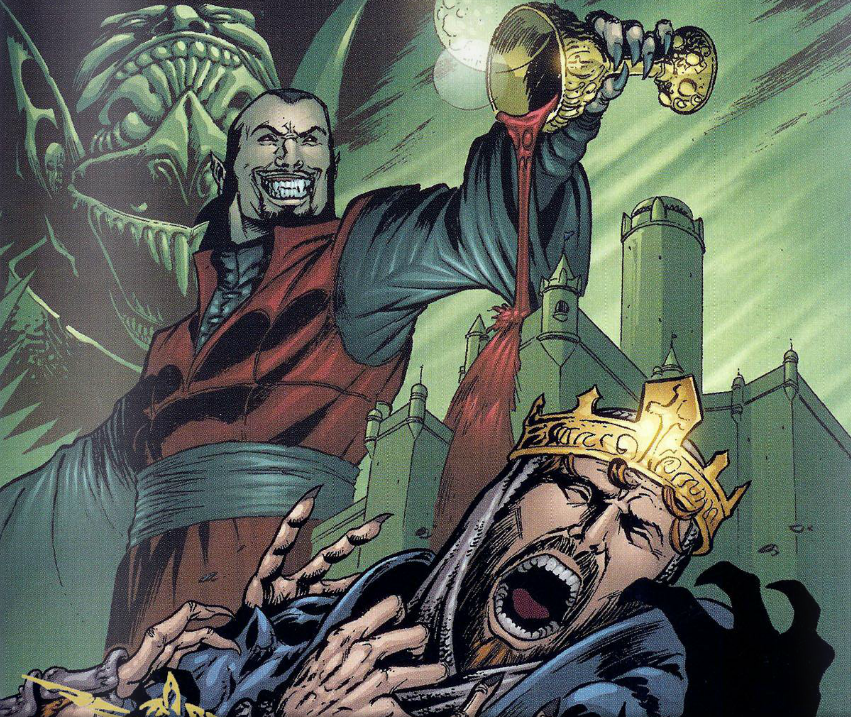
Throughout his life, Dracula had constantly prayed and fought for God. He believes that when he ultimately passes away, he’ll reunite with his deceased wife in heaven. However, Lucifer breaks the bad news to him. Since she took her own life, her soul will be forever tortured in Hell. Lucifer then tells him about how his faith to God was all for naught since his attempt to end his country’s turmoil resulted in his violent executions and unruly command, which led to his older brother selling him out to the Turkish Army by telling them where he was hiding. In short, Lucifer manages to convince Dracula that it was God’s plan to have him suffer for some “higher purpose”. Not only that, but the otherworldly being also tells the Prince of Darkness whom God has “favored” in his stead: King Arthur.


Lucifer offers him the chance to create a new army and rebuild his own kingdom. After sending him back to the time of Camelot, Dracula must go after the villainous sorceress named Morgana (also known as Morgan le Fey) and have her help him destroy everything that Arthur and his kingdom stands for.


All that he has to do in order to gain this unearthly power is to step into the fire pit and burn to death. From there, Lucifer will bring him back to life in Medieval times as a vampire. After learning about the great strength and dark arts that will belong to him, Dracula steps into the vicious flames and proceeds to be burned alive. As the process goes on and as he sends the former Vlad Tempes back in time, Lucifer warns him to stay away from sunlight or else he’ll perish.


We then cut to a moonlit night in Camelot where King Arthur and his beloved Queen Guinevere are asleep. Suddenly, he awakens in fright. After waking his wife up, he tells her about a dream that he just had. He explains that God was warning him about the fabled Holy Grail falling into evil hands and that it must be found. After proclaiming that he must go find it, Guinevere is disappointed that her husband must leave her side for an unknown period of time, but Arthur tells her that they “must show resolve” and asks for her support.


The next day, Arthur has gathered his knights to the round table for an important meeting. He tells them that they must find the Holy Grail before it falls into evil hands. From there, he asks for three of his knights to aid him on his quest. Lancelot volunteers first, but King Arthur politely declines his offer since he needs him to protect the kingdom.


Fortunately, the king manages to get his three volunteers: Percival, Bors & Galahad. As such, the scene ends with the king and his knights raising their swords across the table and pledging their oath.


Later, Arthur meets up with his faithful magician named Merlin. The wise mage tells his king that he knows about the upcoming quest and that he supports whatever decision he has towards helping his kingdom. When Arthur mentions that he has left Lancelot in charge, Merlin tells him that he is a good knight, but has a mysterious past and ends his conversation before he starts to mention about Lancelot’s burning passion. When asked how the Holy Grail will help in keeping the armies of darkness at bay, the scene ends with Arthur telling him that he’s not sure but feels confident since he wields the mighty blade, Excalibur.


Meanwhile, a small blaze erupts over at a rock formation (possibly Stonehenge) as Dracula emerges from the fire. With no clothes of his own, he wanders towards an isolated cabin where its resident asks him if he feels better.


After the innocent bystander notices the flaming stone monument from afar, Dracula makes his first kill by biting the guy’s neck. After finding the taste of another man’s blood intoxicating, he proceeds to head towards the cabin. After the second man opens the door, Dracula bites his neck and throws him across the room. He talks about his newfound powers and how Lucifer promised him his own army before the scene ends with him asking the unfortunate man about Morgana.


We then cut to the next night at Tintagel Castle where Morgana has found out about Arthur’s quest for the Holy Grail. As he stuffs his face with a chicken leg, Mordred (Arthur’s illegitimate son) yells about his desire to kill his father. However, Morgana tells her son that they must wait for the right time before they unleash their wrath, since she loves her boy and also wants him to claim the throne in Camelot.


Suddenly, Dracula makes his presence known. With their castle suddenly invaded, Morgana summons a magic spell while Morded grabs his sword and lunges at the intruder.


However, their attacks fail them as the magic spell loops around Dracula and hits Morgana with enough force to subdue her. Morded tries to stab his foe, but the Prince of Darkness easily relieves him of his sword before stabbing him through the lower neck.


As Morgana is being held captive by his undead servant, Dracula explains why her spell didn’t work on him. It turns out that it only harms living beings and he’s already dead. He then proceeds to tell her and the non-fatally wounded Morded that he wants the same thing that they want: kill King Arthur. After using his hypnotic trance on her, Dracula proceeds to cut his arm and end the scene by pouring some of his blood into Morgana’s mouth in order for her to work with him.


And so, Issue 1 ends with Merlin arriving at the stone monument as he discovers the use of dark magic. After discovering Dracula’s first victim, the fabled wizard realizes that a grave new evil is ready to haunt the land.

The plot is simple and straightforward enough to follow, since it sets up the initial status quo in the first five pages before it starts to set up the grand fight to come. Because Dracula and King Arthur’s concepts should be familiar enough to the casual reader since there’s been various media on both sides of the fence that focuses on these two literary icons. With Dracula, he’s a ruler who tactics went too far in order to maintain order throughout his land. In desperation, he ends up making a deal with a literal devil in order to gain it back. With Arthur, he’s a noble king who’s only doing what he feels is best for Camelot and believes that the Holy Grail has the answer. We spend more time with Dracula in this issue, since it sets up why he’s doing this indecent act and how he forms the foundation for his master plan. More plot details are sure to come over the next three issues and I look forward to diving into our main characters’ interesting twists and turns. The art work even excels in a certain way. Not only is the color palette varied and the panels detailed, but the backgrounds are also kept in for the majority of the issue. It seems like today, a lot a comics from the major publishers will have their fair share of background but also have some panels be either mostly blank or just a single color or so. While nothing entirely standing out, the art is solid enough for the tale at hand.

Overall, this is a nice start to the mini-series. It establishes our characters, it sets the groundwork for the upcoming conflict and both sides are sympathetic enough to understand why they’re doing what they’re about to do. Not only that, but it’s displayed with some formidable artwork. It promises to bring about a grand tale, so here’s hoping that it delivers. Until next time, see you around the C-Cubed!